Fire Tablet: Disable the Lock Screen (no root required!)
02/12/2019 (54727x read)
Amazon sells their Fire Tablets as cheap and nice tablets that could be perfect for a smart home monitor. Unfortunately they come with a lock screen that cannot easily turned off in the settings. But don’t worry, with the Google Android Developer Bridge you can change two important settings to keep the lock screen away!
This method also has some disadvantages: You cannot access the settings from the swipe-down menu anymore, the developer options are gone and there might be problems with updating apps from the Google Play Store. Luckily you can change the settings back – but then the lock screen will appear again.
Set up your ADB connection to the tablet
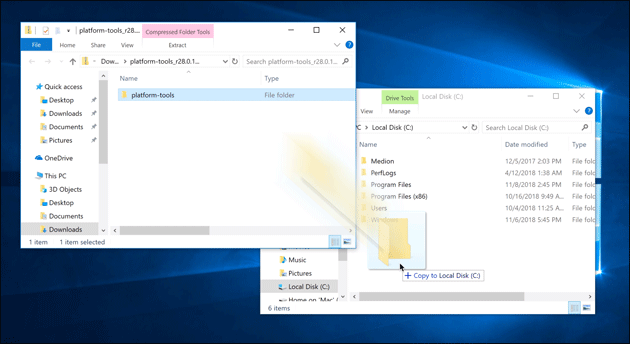
You need an ADB connection to your tablet: Googles „Android Debug Bridge“ is meant for developers. Here we use it to allow an app to change the tablet’s settings. You can download the Google ADB tools on the Android Developer website; just make sure to take the „platform-tools“ directory and copy it directly to your Windows drive („C:\“):
» ADB Download Windows
» ADB Download Mac OS
» ADB Download Linux
Now you have to enable the ADB connection on the tablet in the settings: Tap on settings and „Device Options“. To enable the „Developer Options“ you have to tap seven times onto the tablet’s serial number.
After that, tap on „Developer Options“ and activate the ADB connection. Now you can connect the Tablet to your PC and open the command prompt. Use the command „cd“ to change to your platform-tools directory. Here you can run the ADB apps that will change settings on your tablet and help you to get rid off the Fire tablet’s lock screen!
Disable the Fire Tablet’s Lock-Screen!
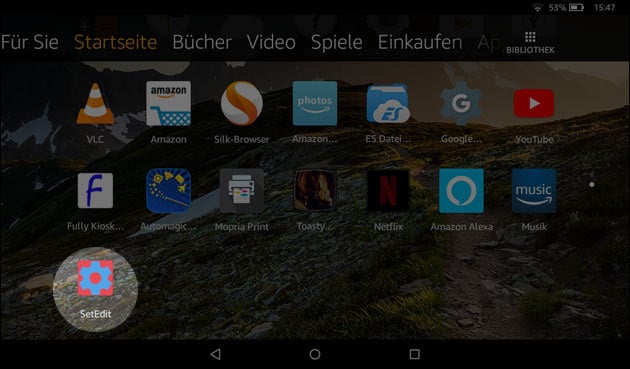
To access the important setting on the Fire tablet, we are using the app „Settings Database Editor“. You can download the app from the Google Play Store (if you have it already installed on your Fire tablet) or from other websites like APK Mirror. If you download the app from a website, not the Google Play Store, copy it onto a micro SD card to get it to the tablet and use an app like the „ES file explorer“ to open it. Make sure to allow „Apps from Unknown Sources“ in the tablets security settings!
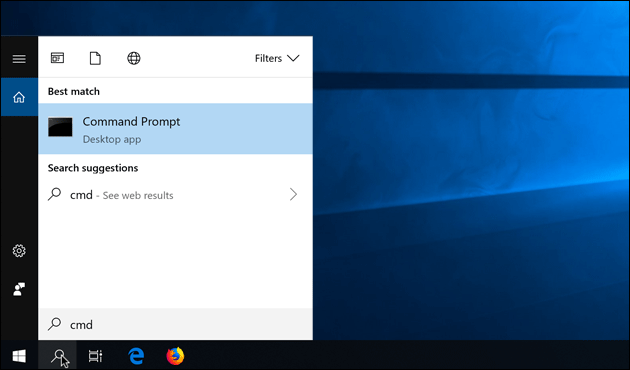
Now connect your tablet to the PC and start the ADB bridge like we show in the video. Open the command prompt by typing „cmd“ in the Windows search bar and click on „Command prompt“:
To change to the „platform-tools“ directory (if you have copied it to C:\), enter this command:
cd c:\platform-tools
Now you can start the adb app and set up a connection to the tablet by entering these commands:
adb devices
This will open the connection. You might have to grant access on the Fire device.
adb shell pm grant by4a.setedit22 android.permission.WRITE_SECURE_SETTINGS
This will allow the new app to change the Android-Settings that control the lock screen. You can now disconnect the Fire Tablet and start the app!
Now tap on „System Table“ in the upper right corner and select „Secure Table“ instead:
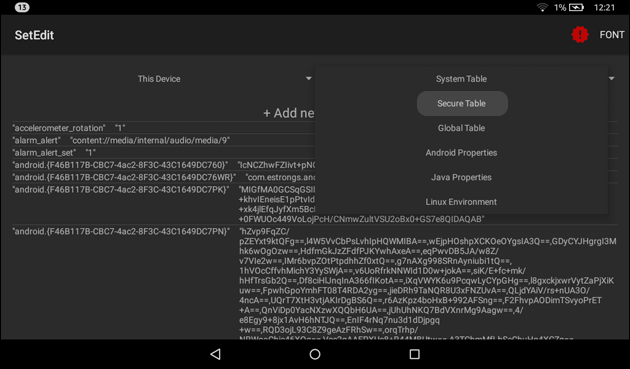
This will list all settings that can be changed here. Be very careful to not change anything else because it could damage your device!
Look for the line: „lockscreen_disabled“ „0“
Tap on that line and click on „Edit Value“: You can now change that settings value from „0“ to „1“ and save the setting.
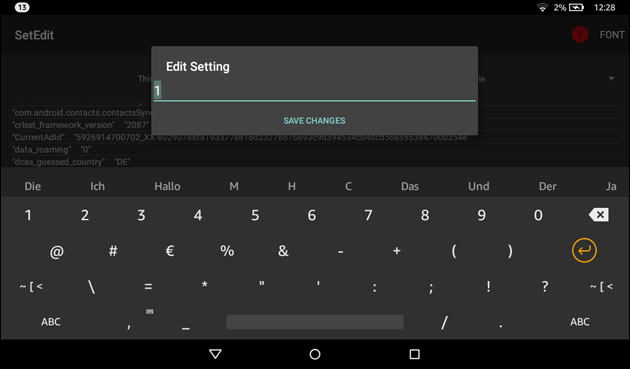
Now select „Global Table“ instead of „Secure Table“ in the upper right corner and look for this setting:
„device_provisioned“ „1“
Edit this value from „1“ to „0“ and restart your tablet: Press the on/off button for several seconds until the Fire Tab asks you to shut down. When the tablet is powered off you can restart it by pressing the on/off button again for a few seconds.
The Fire tablet should start right away without the lock screen and show your installed apps: You are done! There might be a chance that Amazon is disabling your setting with an update: If you do not need an internet connection, you could forbid the tablet’s internet access in your router’s settings (if possible).


 (1 votes, average: 4,00 out of 5)